

Well, I always find my way into various projects. It is funny, the more things you say yes too the more that you can learn. So with that in mind I set off to make a new dash for the Kern Racing Pikes Peak EVO.
For those of you not familiar with this car, I have built a few parts for the Kerns already. Last year I worked on their Aero Package and in the last few years the Kerns, piloting this car, have held the record for the Time Attack 4wd class at Pikes Peak. This team is unstoppable with the proper equipment and I am happy to be able to help them with their quest.
This year they are switching to Pikes Peak Open. This allows them a few more options in lightening the vehicle. Weight is a huge advantage in racing. Lotus has a saying “performance through light weigh” this saying just means that you don’t need as much power if you have less to move. So with the new possibilities every option needs to be considered. So Dave has been working on ideas. Remove brackets, replace windows with lexan, remove lights, remove dash…. wait. We can’t remove the dash, we need that to block reflections from the windshield. we need it to hold critical components like the speedometer and switches that we need. So instead it needs to be a composite dash of some sort. Now to give you an idea, the current dash weighs in at 38lbs. That is a lot of weight! Why does it weight that much you ask? Well, glovebox, vent plumbing, plastic bits, tabs, mounting brackets and more stuff that isn’t needed in a race car all add up pretty fast. With a carbon dash, we should be able to get that down to about 2 lbs! 36lbs of weight savings!
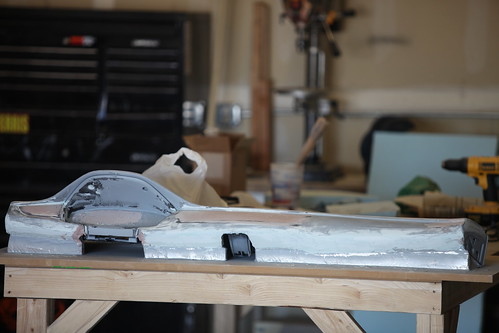
So to start I began with the original dash. This is to provide the form of the dash that we will end up with rather than try to duplicate it out of foam. The first steps were to mount this to a board, and begin creating the form of the underside of the dash. This dash will have a slightly different shape than the original in order to minimize material and make it very stiff and light.
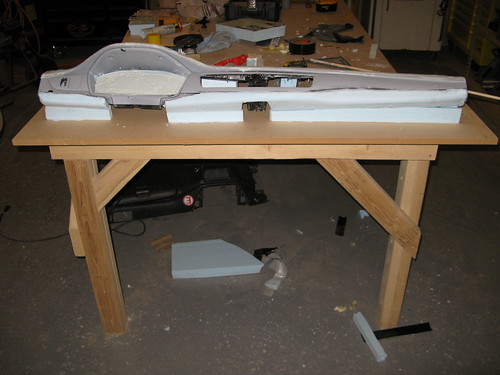
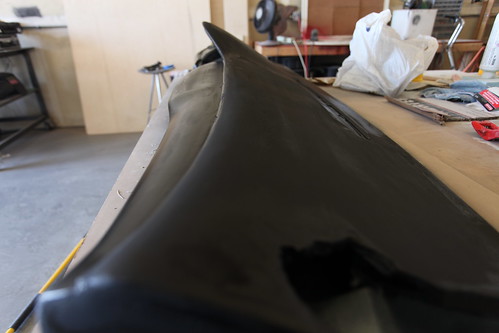
I started shaping the foam and coating it with bondo in order to create a nice solid surface to create the mold from. Any factory dash is going to have texture to it and I needed to eliminate that texture. So coating it with bondo while starting to fill in the holes was pretty crucial. We are eliminating all of the vents on this dash except for the defrost vent. This one we will still need!
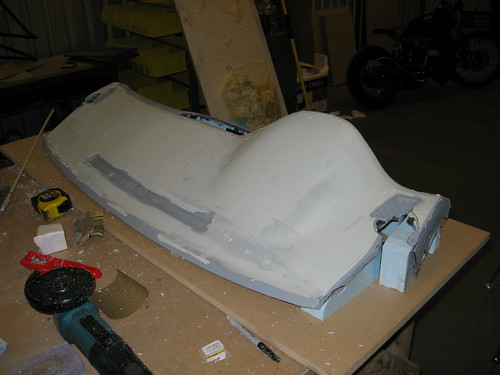
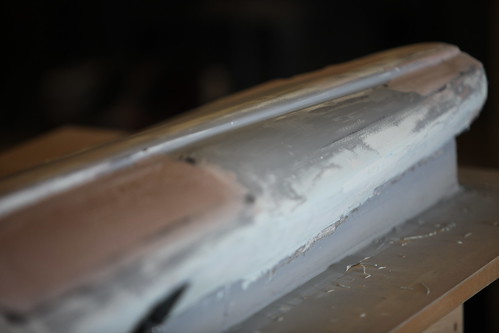
After the first layers of bondo a lot of sanding goes on, I kept smoothing this thing down so that the dash shape stays the same. I don’t want to lose the form of the dash while slathering it with all this bondo, so I figure work my way up slowly. Once I got to a point that I felt comfortable I started filling in gaps. Vents on the sides were the first stop.
The vent holes on the front needed to be filled next, so a piece of foam went in and bondo was applied over top. This is a bit complicated because we really want to make sure the shape holds true to the shape that the dash gives us already. The last thing I’d want is for someone to be able to identify where the vents were at one point.
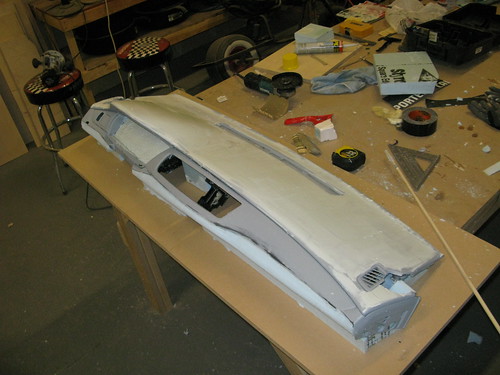
Slowly I built up layers and sanded them back to get the shape correct. Over a few attempts I got this thing pretty close.
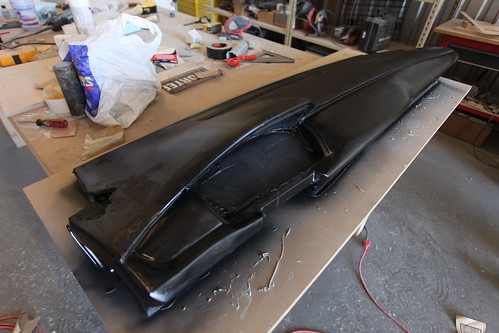
I am sure you can see that there are a lot of colors going on now. Primer grey, bondo (grey), glazing putty (white) and the actual dash (black). All these colors start taking away the visual cues of the lines that you are looking for when you are trying to make a part. So the best plan is always to coat it again every once and a while. get a good idea what it looks like in one color and start working hard at the areas that need improvement. I knew that I wasn’t ready to be done, but I really wanted to see where I needed to work the hardest so I did a quick coat of primer. Nice and heavy and this time I did black so it would give a good visual indicator.
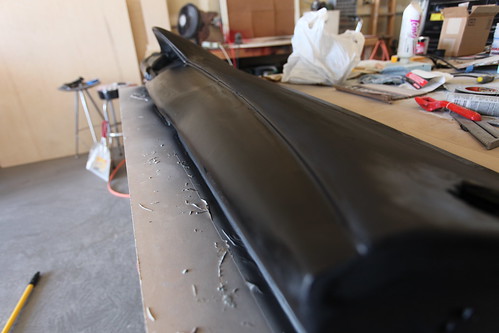
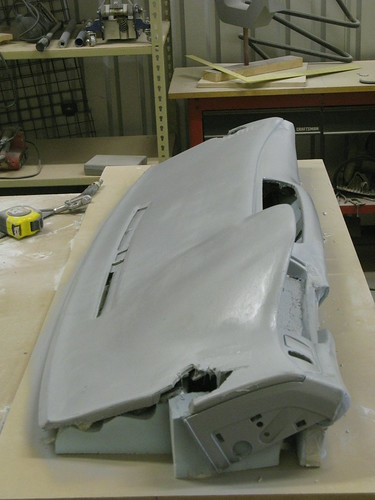
I am sure you can see that there are some inconsistencies in this thing. It isn’t perfect by any means and it isn’t perfectly straight or anything. But this is getting very close. I have a bit more sanding to do, I have a bit more bondo to do and hopefully in the next day or two I will be able to finish up this part of the project so I can start waxing it and pulling a mold off this buck. Check back for the next part. If you have any questions, post them up! I’ll try to answer them.
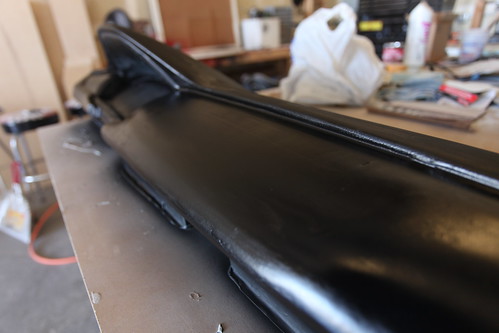

Oh, notice as well, all the seams are filled, all the switch locations are filled and everything is pretty close to smooth. Details are next!
Hi, I’m interested in the carbon fiber dash , how long and how much
Thank you
Hey Gabe,
I don’t know if I can justify the time and cost to make one. I think it would cost at minimum about $1200 for it to be worth me refinishing the mold and getting materials. Sorry for the delay!